|
Untitled Page
ARCHIVED FORUM -- April 2007 to March 2012
READ ONLY FORUM
This is the first Archived Forum which was active between 17th April 2007 and
1st March February 2012
Latest post 04-04-2011 7:44 PM by Jandyt. 137 replies.
-
-
 Dillen
  - Joined on 02-14-2007
- Copenhagen / Denmark
- Posts 5,008

|
Re: D I Y foam replacement on S120s. Step by step with photo's....... by Andy T
Nice photos and good job so far.
Please allow a couple of comments, not meant as criticism; The Beovox S120 woofers are pretty tolerant but I can think of
many others not so, the RL140's springs to mind as trouble candidates
with very tight tolerances.
Getting it right by simply "feeling your way" won't work - I've been there and RL140 woofers are 6 ohms and practically impossible to match to any available type. Surely, the cone needs to be centered but also parallel to the magnet
by stabilizing ie locking the coil with respect to the magnet - align and shim.
To do this the dustcap needs to come off and you need to insert shims
of different size and thickness and these will stay in until the cement
has fully set.
A new dustcap will then have to be mounted, I normally use a
somewhat sturdier type, slightly larger than the original mainly
for aestetical reasons, namely to cover any visual remains of cement
from the old dustcap.
Shim'ing the coil/magnet is by far the most important step of all ! The perfectionist would inspect the spider for
warpage (from time, moisture, heat etc.), maybe even
dismount and realign the spider to be certain it's all
parallel and centered.
It would also be a good idea, in my opinion, to make sure
that the height of the cone matches with the new surround
so that the new surround doesn't offset
the cone axially ie. pulls it in- or outwards when mounted, making
it work un-symetrically (distortion). If using the correct speaker cement, 1 hour is far from
enough for the cement to fully set.
24 hours minimum and even after that you can often still
feel a bit of squish if squeezing the outer lip of the surround.
With regards to the amount of cement to use, I'd rather see a little
squeeze out from the inner lip than have the extreme inner egde
rattling at certain frequencies because it hasn't been bonded to the cone. One more note: Stay away from the cheapest surrounds, some of the ones
occasionally found on Ebay, they are completely worthless in my opinion.
Some have wrong heights (inner/outer lip etc.), I've seen 3-4mm off,
some loses their form within months, others are not even round.
I have removed and redone several woofers from
previous "DIY attempts", luckily most could be saved.
If you don't do it right it's a waste of time and money, let alone risking damage to the woofer so it could be worth practicing
a bit on some cheap drivers before attacking No-Longer-Available B&O woofers. Martin
|
|
-
-
-
 Jandyt
 
 - Joined on 04-01-2007
- Clitheroe, Lancashire, UK
- Posts 13,004

|
Re: D I Y foam replacement on S120s. Step by step with photo's....... by Andy T
Martin.
Thank you so much for your input, it has been taken on board for future reference.
As I said in my second post, I am a non-technical person. This project is mainly an inexpensive experiment, to see if somebody as thick as myself can save these S120s from the skip.
I understand the importance of shimming between the coil and the magnet but where would I get the correct shims? And I wouldn't know a spider if it jumped up and bit me on the nose.
Taking off the dustcap would be another problem for me as I would have to source a replacement.
If I was doing this job to sell the speakers, it would be a different story. I would have to do things in a technically perfect way. As it is, I'm really just 'playing' at it.
Hell, at the end of the day I have spent less than £35. If, at the end of it, the speakers sound ok then that's a bonus! Once again, I really appreciate everything that you, a Wise Old Sage, have imparted to me and I hope other Beoworlders will take onboard your healthy critisism.
Graham, I have finished the speakers and re-assembled them but the job takes three times longer as I have to..
1) Do the job.
2) Photograph everything (I can assure you that's not easy)
3) Shrink all my photo's so they are postable.
4) Make this thread.
I could plug the speakers into my 7000 system tonight to try them but have decided to finish this thread first.
If I plug them in and they sound crap or blow up, then I would lose the impetus to complete the thread. Andy T.
|
|
-
-
 joeyboygolf
 
 - Joined on 04-16-2007
- Ely, Cambridgeshire, UK
- Posts 3,252

|
Re: D I Y foam replacement on S120s. Step by step with photo's....... by Andy T
Andy, I am sure that this project has taken an enormous amount of time. I was merely trying to let you know, in my own way, that somebody was with you and reading your story with interest. I would read you anyway but as it happens,I have a pair of S80's with slight foam rot which I need to tackle. I consigned a rough pair of S80-2's to the skip earlier this year but these S80's are particularly fine and should be saved. They are my passive test speakers and are usually wired to a MCL2P in my B&O workroom. If I have a powerlink system to test then I just connect with a fully wired P/L cable and if I'm testing a passive system like a BC9000 I just pull the plugs from the MCL2P and plug into the 9000. The sound is actually more to my taste than most of the modern speakers like 6000's or 8000's because the woofer is actually big enough to move some air!!!! Edit...... if you are reading this, you are wasting time.......get back to your thread writing
|
|
-
-
 Dillen
  - Joined on 02-14-2007
- Copenhagen / Denmark
- Posts 5,008

|
Re: D I Y foam replacement on S120s. Step by step with photo's....... by Andy T
Andy, you are doing a great job and, knowing the S120 woofers and the way you tackle the things,
I'm sure you'll end up with a perfect result.
Thanks for the photos and for sharing this with us. 35 UK Pounds suggests you bought good quality surrounds.
For comparison, for fitting new surrounds to a pair of S120's (or similar) I "normally" charge
45-50 pounds (plus eventual shipping).
"Normally" because there can be situations, as stated earlier, where the drivers need more/other work. Martin
|
|
-
-
 Jandyt
 
 - Joined on 04-01-2007
- Clitheroe, Lancashire, UK
- Posts 13,004

|
Re: D I Y foam replacement on S120s. Step by step with photo's....... by Andy T
  I wasn't having a go at you Graham and thank you for reading this. Thanks also to you, Martin. You have more faith in me than I have!. After I had glued the bits of the surround that had been missed behind the clothes pegs, as before, I had to keep pressing them togethr every five minutes. Eventually they were finished and it was time to re-assemble every thing. Like an idiot I put the rubber gaskets on the speaker frames and then the outer ring. Then I realised I would have to turn them over to put them in! 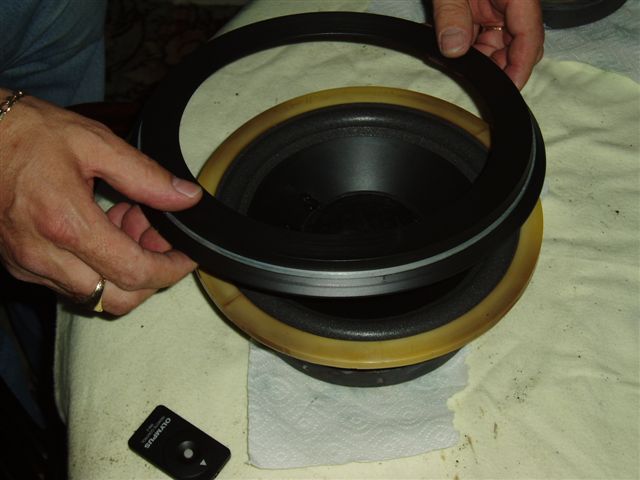
|
|
-
-
-
 Jandyt
 
 - Joined on 04-01-2007
- Clitheroe, Lancashire, UK
- Posts 13,004

|
Re: D I Y foam replacement on S120s. Step by step with photo's....... by Andy T
Looking round the rings, I found a little notch which corresponds with the seam on the aluminium bit of the ring. This obviously goes to the bottom. 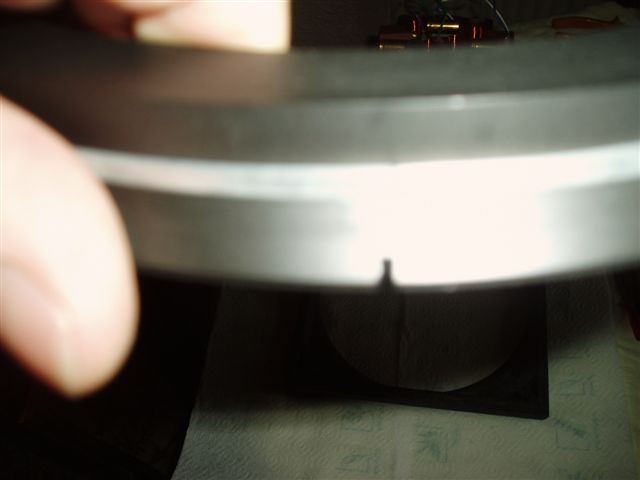
|
|
-
-
-
-
 Jandyt
 
 - Joined on 04-01-2007
- Clitheroe, Lancashire, UK
- Posts 13,004

|
Re: D I Y foam replacement on S120s. Step by step with photo's....... by Andy T
Replace the four metal clamps with their rubber blocks under them an tighten the screws tightly. Unbelievably, I almost forgot to connect the wires to the driver! I previously had marked one of the terminals 'red'. 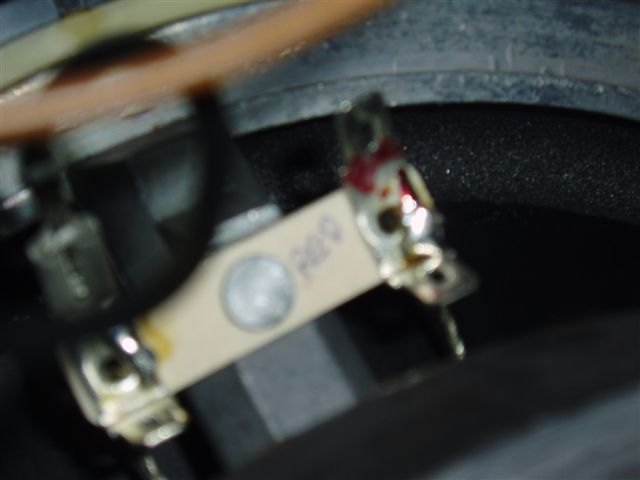
|
|
-
-
-
-
-
 Jandyt
 
 - Joined on 04-01-2007
- Clitheroe, Lancashire, UK
- Posts 13,004

|
Re: D I Y foam replacement on S120s. Step by step with photo's....... by Andy T
The piece of white wadding that I am pointing at was originally stuffed into the back of the woofer so I did the same. As I mated the two items together I was also gently rocking the whole unit back until it was lying on it's back. Just a case of replacing the six screws and tightening up. 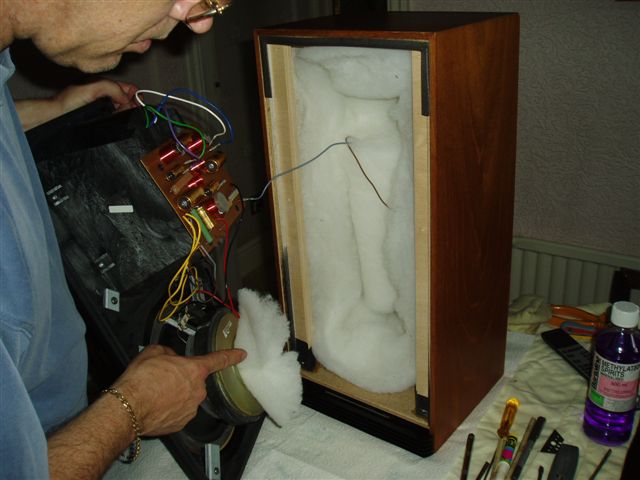
|
|
-
-
-
 Jandyt
 
 - Joined on 04-01-2007
- Clitheroe, Lancashire, UK
- Posts 13,004

|
Re: D I Y foam replacement on S120s. Step by step with photo's....... by Andy T
Dying to plug them in but the jobs not finnished yet. I've to sort out the frets now. 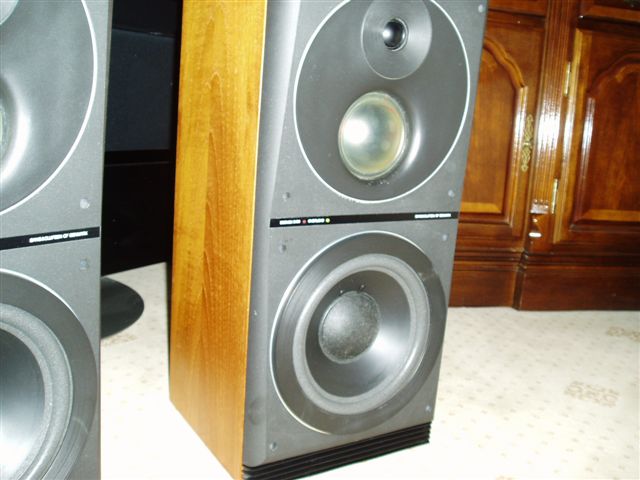
|
|
-
-
-
 wirralsimon
  - Joined on 04-17-2007
- Birkenhead, UK
- Posts 1,253

|
Re: D I Y foam replacement on S120s. Step by step with photo's....... by Andy T
I find the level of self-control that means you can deal with the frets before plugging them in to see how they sound kind of unsettling....... Simon
|
|
-
-
 9 LEE
9 LEE
  - Joined on 02-14-2007
- Moderator - UK
- Posts 5,223

|
Re: D I Y foam replacement on S120s. Step by step with photo's....... by Andy T
Go on - get them running - i'm dying to hear what they sound like too !!! Lee 
BeoWorld - Everything Bang & Olufsen
|
|
-
-
-
 Dillen
  - Joined on 02-14-2007
- Copenhagen / Denmark
- Posts 5,008

|
Re: D I Y foam replacement on S120s. Step by step with photo's....... by Andy T
The woofers will sound a bit "dead" and "stiff" at first. They will have to be "worked in" before losening up, just like when they were new. Don't judge anything within the first 20 hours of playing or so. Martin
|
|
-
-
 Jandyt
 
 - Joined on 04-01-2007
- Clitheroe, Lancashire, UK
- Posts 13,004

|
Re: D I Y foam replacement on S120s. Step by step with photo's....... by Andy T
Now come on lads, if a job's worth doing, it's worth doing well. Hi there Mr 9Lee, your BMW 5 series is here but we don't have the doors or the boot yet. Would you like to take it for a quick spin? I think not.
|
|
-
-
 Jandyt
 
 - Joined on 04-01-2007
- Clitheroe, Lancashire, UK
- Posts 13,004

|
Re: D I Y foam replacement on S120s. Step by step with photo's....... by Andy T
Well the frets are a bit of a mess. Very dirty 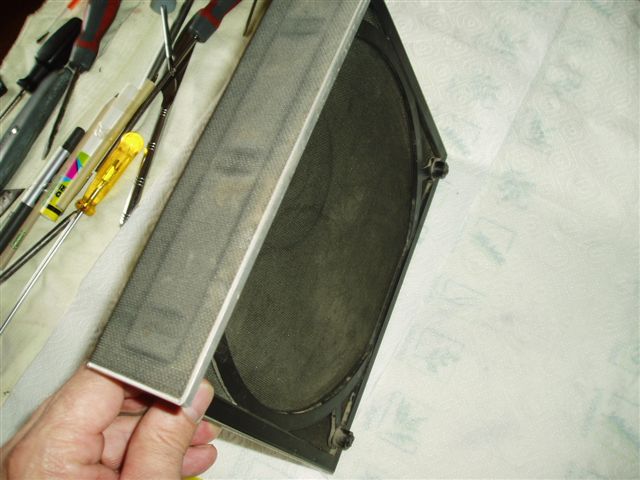
|
|
-
|
|
|