|
Untitled Page
ARCHIVED FORUM -- April 2007 to March 2012
READ ONLY FORUM
This is the first Archived Forum which was active between 17th April 2007 and
1st March February 2012
Latest post 04-04-2011 7:44 PM by Jandyt. 137 replies.
-
-
 Puncher
 
 - Joined on 03-27-2007
- Nr. Durham, NE England.
- Posts 9,588

|
Re: D I Y foam replacement on S120s. Step by step with photo's....... by Andy T
I hope you didn't glue your sleeve to the cone!
Generally speaking, you aren't learning much if your lips are moving.
|
|
-
-
 Jandyt
 
 - Joined on 04-01-2007
- Clitheroe, Lancashire, UK
- Posts 13,004

|
Re: D I Y foam replacement on S120s. Step by step with photo's....... by Andy T
Gosh, that would be bad. Running around with 3.751kg of driver attatched to your arm (Just weighed on sock-weighing machine) Oh dear, this is supposed to be a serious thread 
|
|
-
-
 Jandyt
 
 - Joined on 04-01-2007
- Clitheroe, Lancashire, UK
- Posts 13,004

|
Re: D I Y foam replacement on S120s. Step by step with photo's....... by Andy T
and then, just to be sure, I held a flat, blunt knife behind and pressed all round again. The knife can get to the bits behind the spokes of the frame better than my fingers. Sorry, another poor picture, it's quite difficult working the camera with your ear lobe. 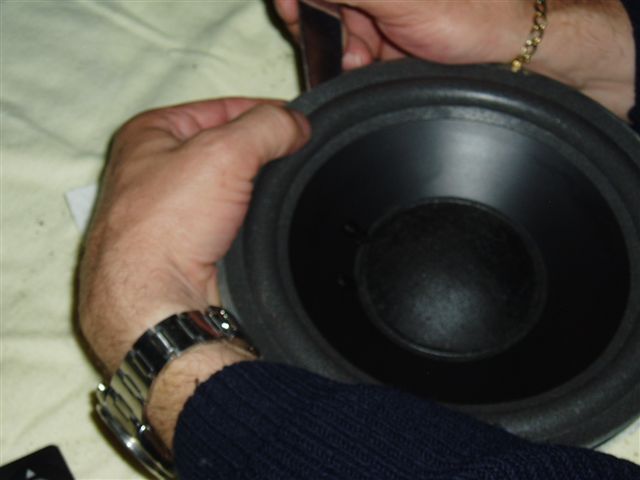
|
|
-
-
-
 Jandyt
 
 - Joined on 04-01-2007
- Clitheroe, Lancashire, UK
- Posts 13,004

|
Re: D I Y foam replacement on S120s. Step by step with photo's....... by Andy T
Now, either I have done a really good job with my gluing or a bad one. According to Fred's instructions I should now remove any surplus glue with a small screwdriver. I could only find two teeny-weeny bits of glue showing! 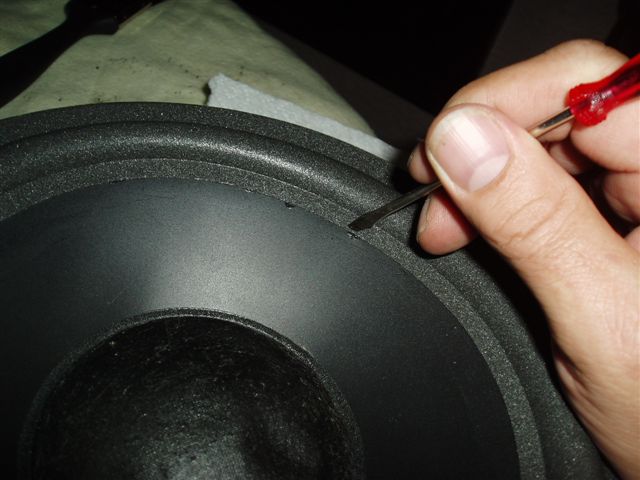
|
|
-
-
 KellyJoe
  - Joined on 08-17-2007
- Posts 7

|
Re: D I Y foam replacement on S120s. Step by step with photo's....... by Andy T
Wow, thank you for posting this. I am about to undertake the same repair. It was good to here about sourcing the foam. My S-120's were given to me by a friend when she moved. Unfortuneatly they were in pieces as she started to have the foam replaced several years ago. She got as far as removing the speaker but in the years since, the ring and gasket on one unit was lost. If anyone can help me source them, it would be greatly appreciated. I will post my progress on the foam job.
thanks again, Kelly Joe
|
|
-
-
 Jandyt
 
 - Joined on 04-01-2007
- Clitheroe, Lancashire, UK
- Posts 13,004

|
Re: D I Y foam replacement on S120s. Step by step with photo's....... by Andy T
Thanks for that Kelly Joe, and good luck with yours. If yours don't work because you followed my instructions, please don't sue me. Now, as Chris pointed out earlier, it is absolutely imperative that the cones are centered properly before gluing to the frames. I did it like this.... First attatch four clothes pegs around the frame, clasping the surrounds to the frames. 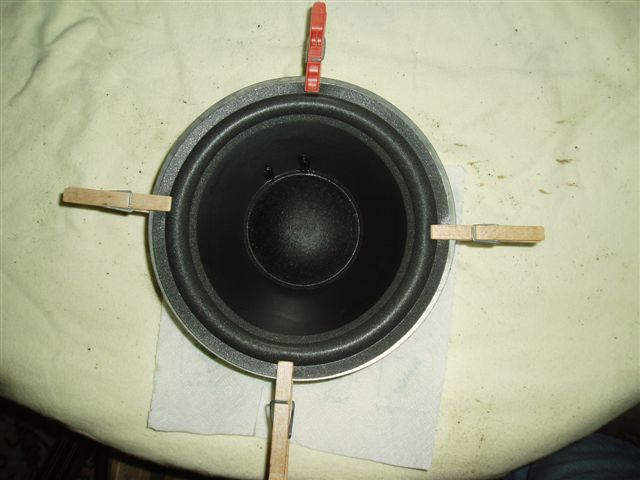
|
|
-
-
 Jandyt
 
 - Joined on 04-01-2007
- Clitheroe, Lancashire, UK
- Posts 13,004

|
Re: D I Y foam replacement on S120s. Step by step with photo's....... by Andy T
The cone should be able to move in and out freely without rasping the coil. With you right thumb only, push the cone in a couple of times. You should hear the coil rasping. BTW you need to have silence in the room while you do this. 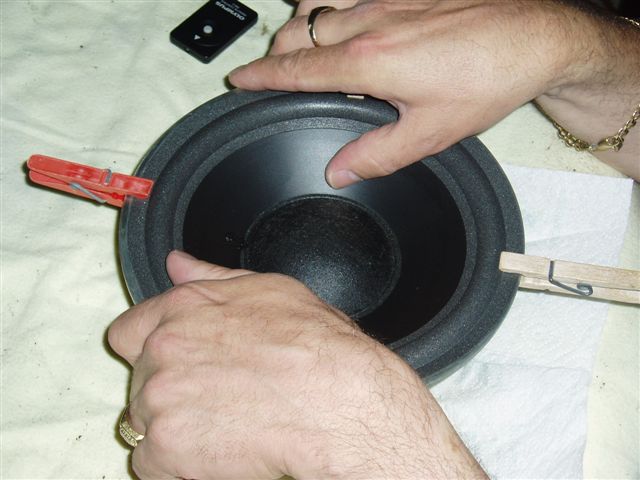
|
|
-
-
 Jandyt
 
 - Joined on 04-01-2007
- Clitheroe, Lancashire, UK
- Posts 13,004

|
Re: D I Y foam replacement on S120s. Step by step with photo's....... by Andy T
Then do the same with your left thumb. If the rasping is louder with your right thumb, then the cone needs moving to the left. 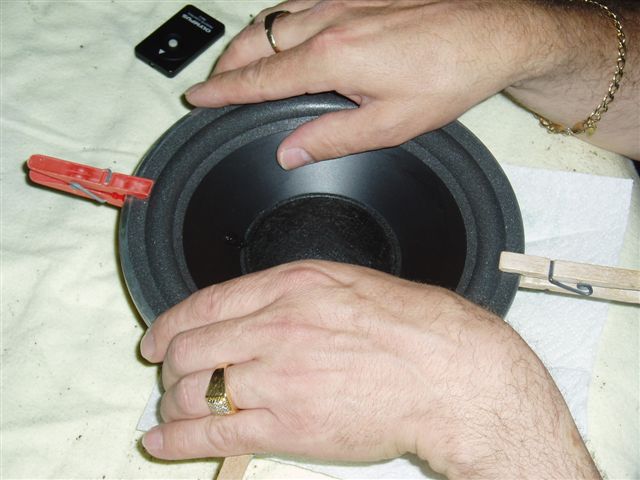
|
|
-
-
 Jandyt
 
 - Joined on 04-01-2007
- Clitheroe, Lancashire, UK
- Posts 13,004

|
Re: D I Y foam replacement on S120s. Step by step with photo's....... by Andy T
Slacken off the peg at twelve o'clock (I chose to use a red peg here to keep track of it) You now need to move the surround slightly to the left just a teeny bit then re-attatch the peg. A small movement will make a big difference so only move it slightly, we're talking less than the width of a gnat's ball hair! Do the same with the bottom peg and re-attatch. Slacken the pegs at 3 and 9 o'clock to let the surround move. Do the left/right thumb thing again, until both thumb movements sound the same. Once you're happy with that, turn the whole thing 90 degrees and repeat the operation 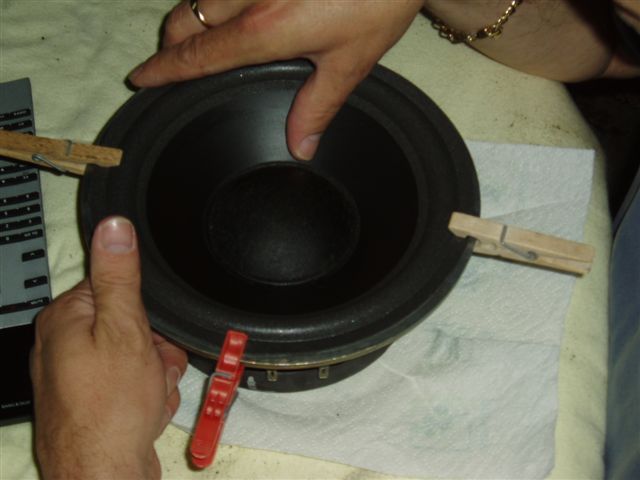
|
|
-
-
-
 Jandyt
 
 - Joined on 04-01-2007
- Clitheroe, Lancashire, UK
- Posts 13,004

|
Re: D I Y foam replacement on S120s. Step by step with photo's....... by Andy T
After that, turn it back to red peg 12 o'clock and double check that it didn't move. I spent about twenty minutes doing this over and over again. Bit tedious but I'm sure it will be worth it in the long run. If a job's worth doing, it's worth doing well! 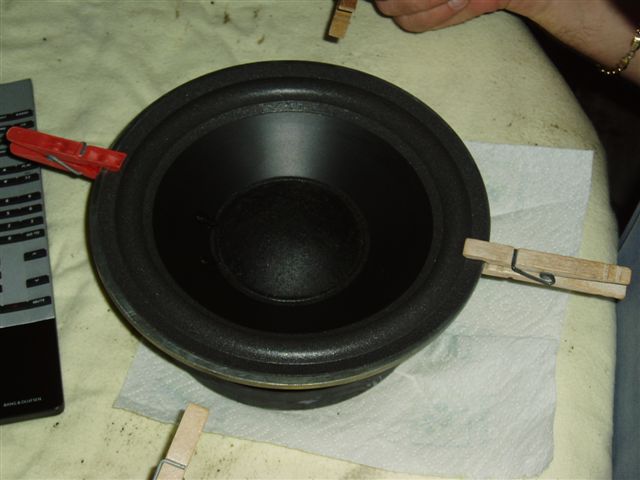
|
|
-
-
-
-
 Jandyt
 
 - Joined on 04-01-2007
- Clitheroe, Lancashire, UK
- Posts 13,004

|
Re: D I Y foam replacement on S120s. Step by step with photo's....... by Andy T
You need to press the surround to the frame now. It won't stick straight away so you'll need to keep pressing it together every five minutes. The more tacky the glue gets the more it will stick. The reason the peg is blue here, is because this is speaker number two! 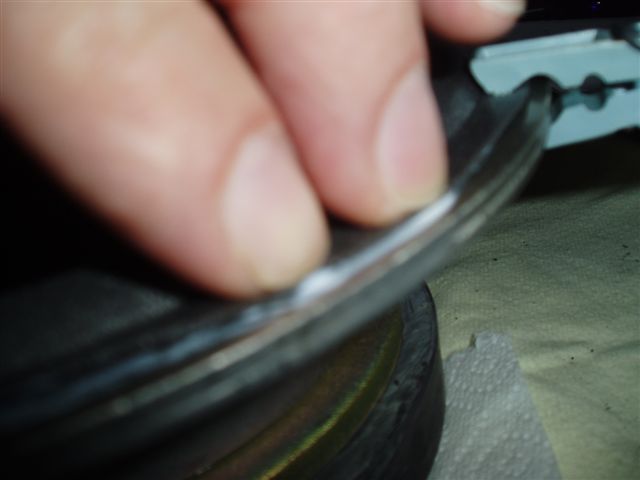
|
|
-
-
 Jandyt
 
 - Joined on 04-01-2007
- Clitheroe, Lancashire, UK
- Posts 13,004

|
Re: D I Y foam replacement on S120s. Step by step with photo's....... by Andy T
Rather than waste time in between the five minute presses, I thought I'd have a quick look at the cabinets. I was quite lucky with these, they're in quite good nick, however the bottom grills are filthy so I will take them off for a clean. 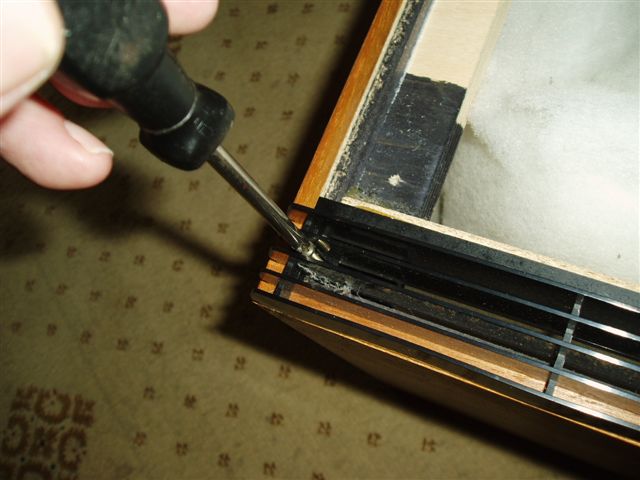
|
|
-
-
-
 Jandyt
 
 - Joined on 04-01-2007
- Clitheroe, Lancashire, UK
- Posts 13,004

|
Re: D I Y foam replacement on S120s. Step by step with photo's....... by Andy T
Ughh, filthy! I put both of these in the sink with warm water and Fairy liquid and scrubbed them with a nail brush. 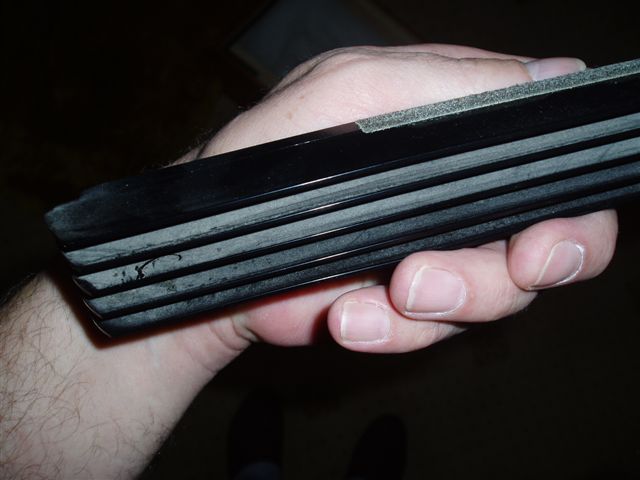
|
|
-
-
 Jandyt
 
 - Joined on 04-01-2007
- Clitheroe, Lancashire, UK
- Posts 13,004

|
Re: D I Y foam replacement on S120s. Step by step with photo's....... by Andy T
Don't get so carried away with the cabinets that you forget to return every five minutes to press the surrounds on! The woodwork is quite good but there are a couple of scratches that need sorting. 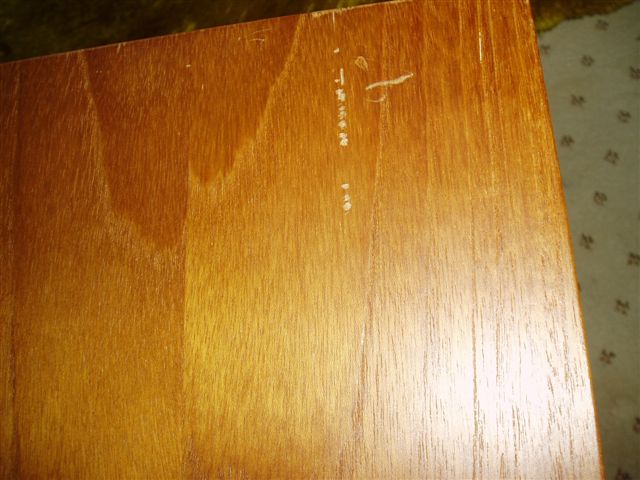
|
|
-
-
-
-
 Jandyt
 
 - Joined on 04-01-2007
- Clitheroe, Lancashire, UK
- Posts 13,004

|
Re: D I Y foam replacement on S120s. Step by step with photo's....... by Andy T
Eee! It's lonely on here. Anybody out there?
|
|
-
-
 Jandyt
 
 - Joined on 04-01-2007
- Clitheroe, Lancashire, UK
- Posts 13,004

|
Re: D I Y foam replacement on S120s. Step by step with photo's....... by Andy T
Anyway, back to the driver. About an hour later the glue has dried, so off with the clothes pegs. 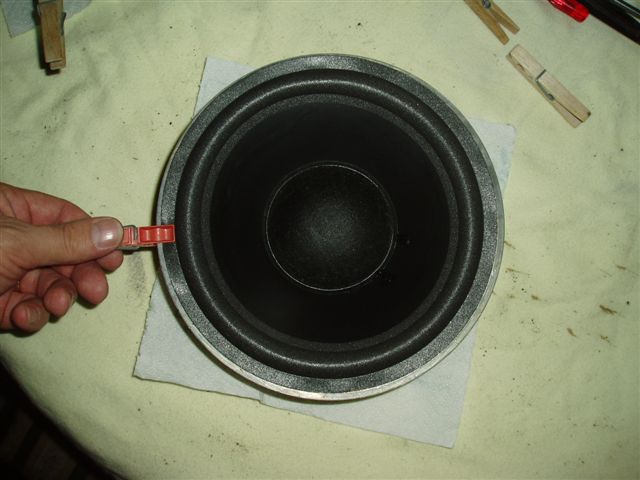
|
|
-
-
 Jandyt
 
 - Joined on 04-01-2007
- Clitheroe, Lancashire, UK
- Posts 13,004

|
Re: D I Y foam replacement on S120s. Step by step with photo's....... by Andy T
Now you can see the mistake I had made earlier. I had glued too much between the pegs and so now only had a bit of surround to turn back and glue. Next time (if there is a next time!), I will only glue about an inch. 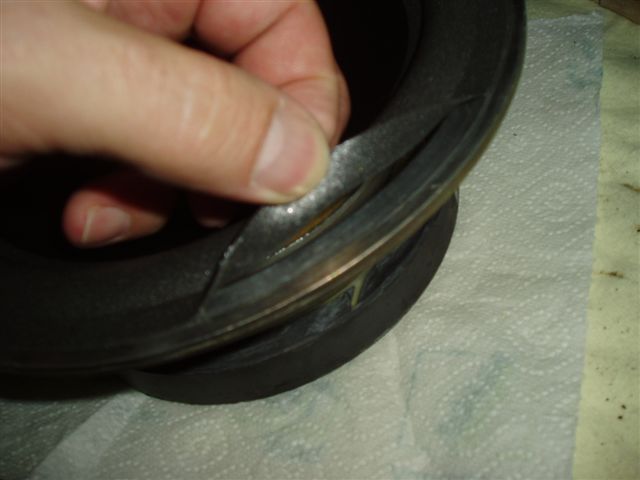
|
|
-
|
|
|