|
Untitled Page
ARCHIVED FORUM -- April 2007 to March 2012
READ ONLY FORUM
This is the first Archived Forum which was active between 17th April 2007 and
1st March February 2012
Latest post 04-04-2011 7:44 PM by Jandyt. 137 replies.
-
-
 Jandyt
 
 - Joined on 04-01-2007
- Clitheroe, Lancashire, UK
- Posts 13,004

|
Re: D I Y foam replacement on S120s. Step by step with photo's....... by Andy T
Next I started working on the speaker frame. I did this with a blunt Stanley knife. The whole Knife was too bulky so I removed the blade and held it in some folded up kitchen roll. It took about 45 minutes to go round the frame, milimeter by milimeter! I always kept a thumb or an index finger between the blade and the cone so as not to have any little accidents. After I had done I did the same as before and used cotton-wool soaked in meth's to clean any remnants off. Do you know, I think my fingers are better than those in the infamous Beo5 photo'! 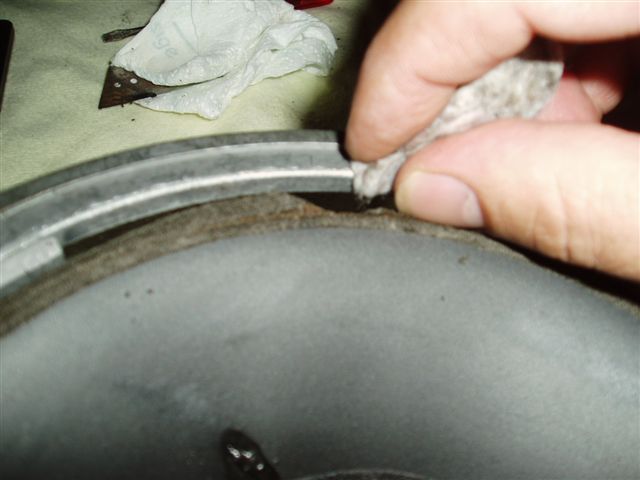
|
|
-
-
-
 The Stig - ver. 1.7
  - Joined on 06-20-2007
- Posts 898

|
Re: D I Y foam replacement on S120s. Step by step with photo's....... by Andy T
 jandyt: jandyt:After I had done I did the same as before and used cotton-wool soaked in meth's to clean any remnants off.
Did also put them in the sink with some Fairy liquid ???
|
|
-
-
 wirralsimon
  - Joined on 04-17-2007
- Birkenhead, UK
- Posts 1,253

|
Re: D I Y foam replacement on S120s. Step by step with photo's....... by Andy T
I am still impressed by the bottle of Captain Morgan and the pint glass....... Simon.
|
|
-
-
 Jandyt
 
 - Joined on 04-01-2007
- Clitheroe, Lancashire, UK
- Posts 13,004

|
Re: D I Y foam replacement on S120s. Step by step with photo's....... by Andy T
Thanks Simon!
I didn't think anybody had noticed. Did you spot the sledge hammer too? Andy T.
|
|
-
-
 Medogsfat
 
 - Joined on 02-21-2007
- *Moderator* Leeds, Yorkshire
- Posts 4,045

|
Re: D I Y foam replacement on S120s. Step by step with photo's....... by Andy T
For anyone with concave "domes" (which Andy used a vaccume cleaner to pull out) - I wouldn't worry too much about this if you're a bit dubious about tackling them. They are really there to stop any dust getting into the drive coils and wearing them out. They don't actually affect the performance of the speaker by being dented. Replacement dust caps are avaiable though if Andy's trick doesn't work and it bothers you (it would me ) ) Andy, when you fix the new surrounds start by attaching the inner edges to the cone first and leave to dry completely before starting on the frame edges. It is also vital to ensure the coils aren't rubbing before the glue on the outer edges (frame) are allowed to set. This is easy to check by gently pressing the dust cap in the centre in a straight perpendicular line. Any slight rubbing at all and you will have problems, they should move absolutely freely. Please tell me to shut up if I'm teaching you to suck eggs Chris.
The use of metaphors should be avoided like the plague. They're like a red rag to a bull to me.
|
|
-
-
 Jandyt
 
 - Joined on 04-01-2007
- Clitheroe, Lancashire, UK
- Posts 13,004

|
Re: D I Y foam replacement on S120s. Step by step with photo's....... by Andy T
Much appreciated Chris.
I am following the instructions provided by Audiofriends and your instructions are almost word perfect to his!
Thanks a lot for that. There is something I need to know that you may be able to help me with.
Craig kindly gave me two female plugs to go in the back of the S120s and I will get some cable and pugs for the other end from Maplins.
On a driver, it doesn't matter which wire goes where but on a passive speaker with an elaborate crossover circuit board does it still not matter? Andy T.
|
|
-
-
 Jandyt
 
 - Joined on 04-01-2007
- Clitheroe, Lancashire, UK
- Posts 13,004

|
Re: D I Y foam replacement on S120s. Step by step with photo's....... by Andy T
And now the bit I'm not looking forward to. To remove the foamrot from the cone is quite time consuming. First, with a cotton bud, I wetted the foamrot with meths. (Keep well away from sink and Fairy liquid  ) Sorry, poor photo'. 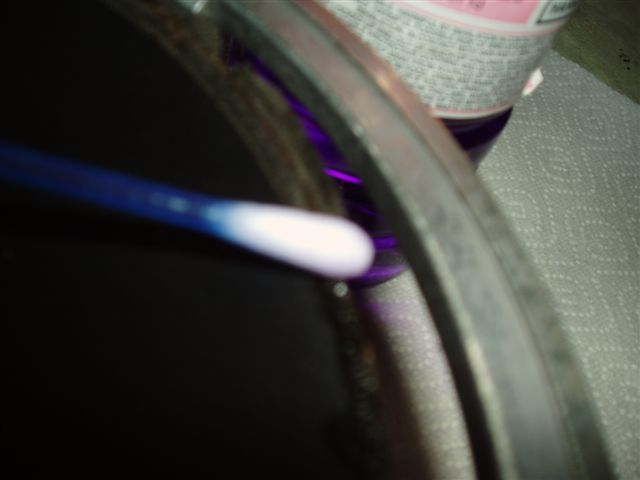
|
|
-
-
-
-
 Jandyt
 
 - Joined on 04-01-2007
- Clitheroe, Lancashire, UK
- Posts 13,004

|
Re: D I Y foam replacement on S120s. Step by step with photo's....... by Andy T
Then, from underneath, cut the glue. Fred's instructions shows him using scissors but I don't trust myself. From underneath you can see the line which is the actual edge of the cone and so can cut in a sawing motion following this line. 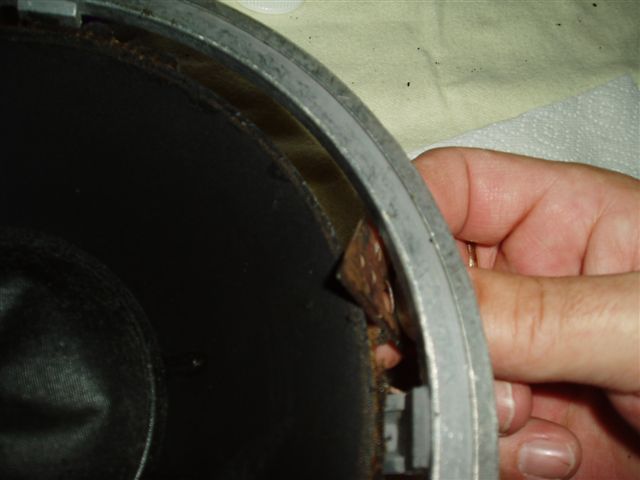
|
|
-
-
 Jandyt
 
 - Joined on 04-01-2007
- Clitheroe, Lancashire, UK
- Posts 13,004

|
Re: D I Y foam replacement on S120s. Step by step with photo's....... by Andy T
A quick clean off with meth's on a piece of kitchen roll and the first driver is foamrot free. Over the sink brush any bits off with a soft dry paintbrush. 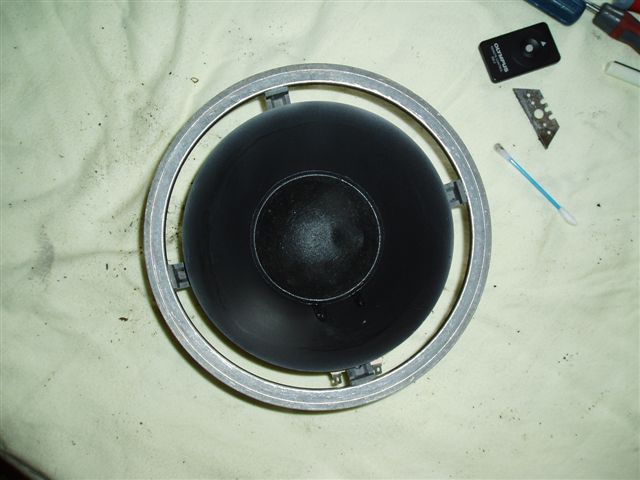
|
|
-
-
-
 Jandyt
 
 - Joined on 04-01-2007
- Clitheroe, Lancashire, UK
- Posts 13,004

|
Re: D I Y foam replacement on S120s. Step by step with photo's....... by Andy T
An hour and a half later.....
VOILLA!!! Now the delicate job of gluing begins.....but not today. 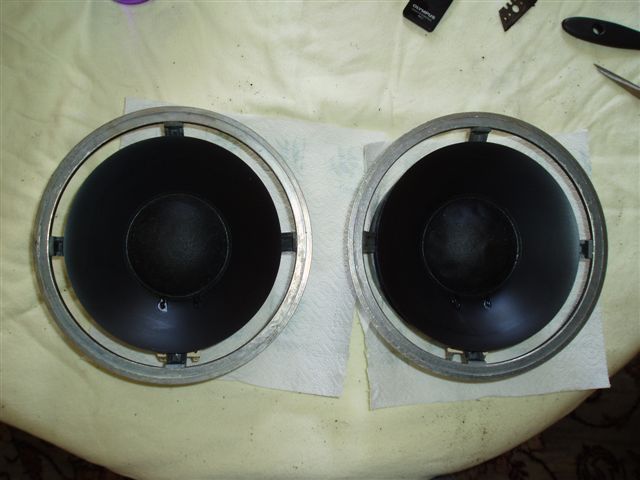
|
|
-
-
 wirralsimon
  - Joined on 04-17-2007
- Birkenhead, UK
- Posts 1,253

|
Re: D I Y foam replacement on S120s. Step by step with photo's....... by Andy T
Awesome pics, you have far more skill and patience than I have! Simon
|
|
-
-
 Puncher
 
 - Joined on 03-27-2007
- Nr. Durham, NE England.
- Posts 9,588

|
Re: D I Y foam replacement on S120s. Step by step with photo's....... by Andy T
The polarity relationship of the drivers is important to prevent phasing issues. The drivers/crossover should be wired so that the driver cones move in the same direction with the same polarity signal (and the other speaker should obviously be identically wired). This will ensure you have no problems playing the speakers as a pair. (Hope you're not doing this on Wednesday)!
Generally speaking, you aren't learning much if your lips are moving.
|
|
-
-
 Jandyt
 
 - Joined on 04-01-2007
- Clitheroe, Lancashire, UK
- Posts 13,004

|
Re: D I Y foam replacement on S120s. Step by step with photo's....... by Andy T
Thanks Puncher. So, in laymans terms, flat pin in amplifier to flat pin in speaker, yes? Don't worry about Wednesday, inane drivel will be spouted! Andy T.
|
|
-
-
 Jandyt
 
 - Joined on 04-01-2007
- Clitheroe, Lancashire, UK
- Posts 13,004

|
Re: D I Y foam replacement on S120s. Step by step with photo's....... by Andy T
The next thing is to glue the new foam to the cones NOT the frames. First of all, as I don't want surplus glue all over the place and end up with a Mobe job, I drew a line all arround the cone just a little bit shy of the foam surrounds, This allows for a little bit of squashage. To get the line equal all the way round, I taped a pen to an upsidedown pencil and used this as a guage. 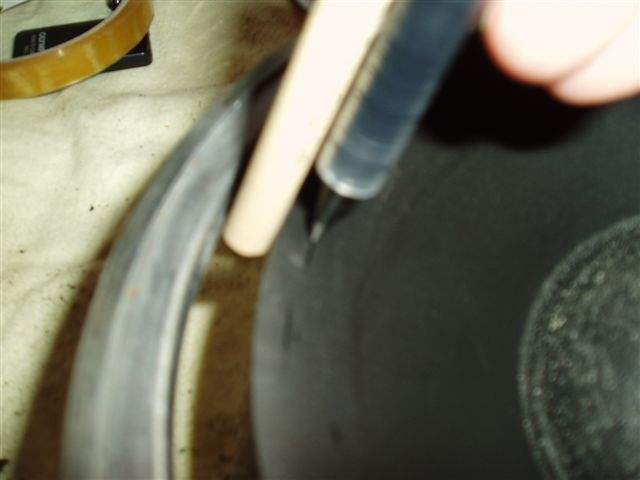
|
|
-
-
-
 Jandyt
 
 - Joined on 04-01-2007
- Clitheroe, Lancashire, UK
- Posts 13,004

|
Re: D I Y foam replacement on S120s. Step by step with photo's....... by Andy T
Here I am applying the glue to the new foam surround, Notice I have kept slightly away from the edge to allow for squashage. (I made this word up but it sounds great so I'll keep using it) 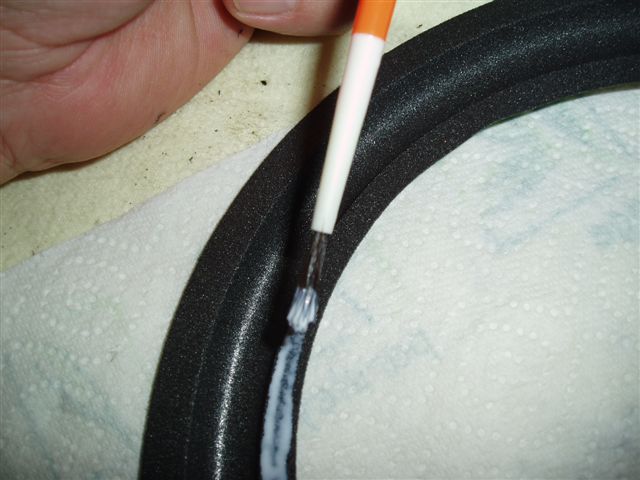
|
|
-
-
 Medogsfat
 
 - Joined on 02-21-2007
- *Moderator* Leeds, Yorkshire
- Posts 4,045

|
Re: D I Y foam replacement on S120s. Step by step with photo's....... by Andy T
 Judy: Judy:
First of all, as I don't want surplus glue all over the place and end up with a Mobe job,

If your reading this Mobe - you realise you have now found eternal infamy on here don't you?
The use of metaphors should be avoided like the plague. They're like a red rag to a bull to me.
|
|
-
-
 Jandyt
 
 - Joined on 04-01-2007
- Clitheroe, Lancashire, UK
- Posts 13,004

|
Re: D I Y foam replacement on S120s. Step by step with photo's....... by Andy T
Now, the instructions said to let the glue set until it's two thirds white and one third clear. This looks about right 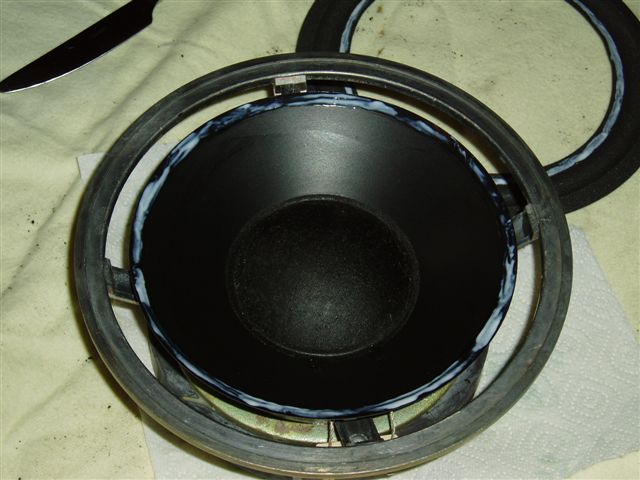
|
|
-
-
-
 Jandyt
 
 - Joined on 04-01-2007
- Clitheroe, Lancashire, UK
- Posts 13,004

|
Re: D I Y foam replacement on S120s. Step by step with photo's....... by Andy T
Then slowly and very carefully lower the foam surround onto the cone. I used my fingers as a guage to get it as central as possible. 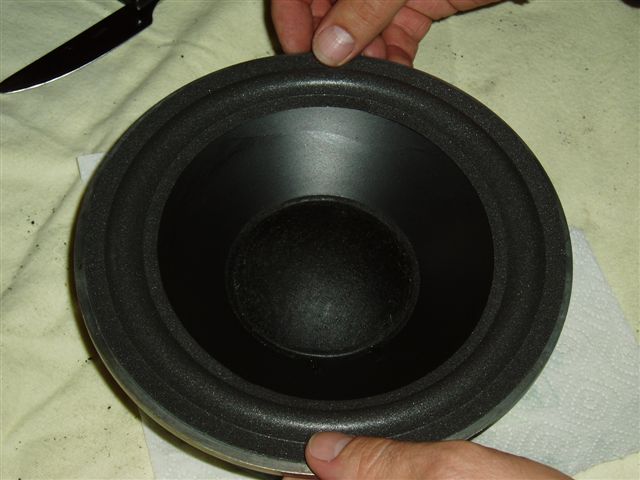
|
|
-
-
 Jandyt
 
 - Joined on 04-01-2007
- Clitheroe, Lancashire, UK
- Posts 13,004

|
Re: D I Y foam replacement on S120s. Step by step with photo's....... by Andy T
Very carefully, with middle fingers behind and thumbs in front squeeze together the surround and the cone. Just like tightening up a cylinder head bolts start at 12 o'clock then 5,10,3,8,1,6 etc. Round and round about four times 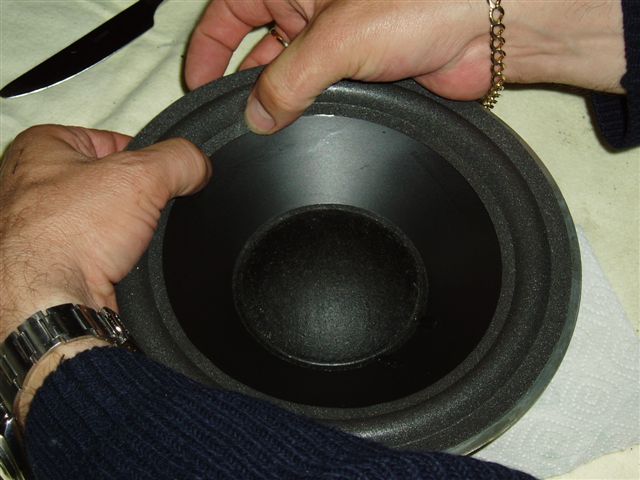
|
|
|
|
|