|
Untitled Page
ARCHIVED FORUM -- April 2007 to March 2012
READ ONLY FORUM
This is the first Archived Forum which was active between 17th April 2007 and
1st March February 2012
Latest post 12-21-2011 12:40 AM by Evan. 151 replies.
-
-
 Evan
Evan
 
 - Joined on 12-15-2008
- Ohio | USA
- Posts 2,601

|
Re: BeoSystem 4500 Restoration
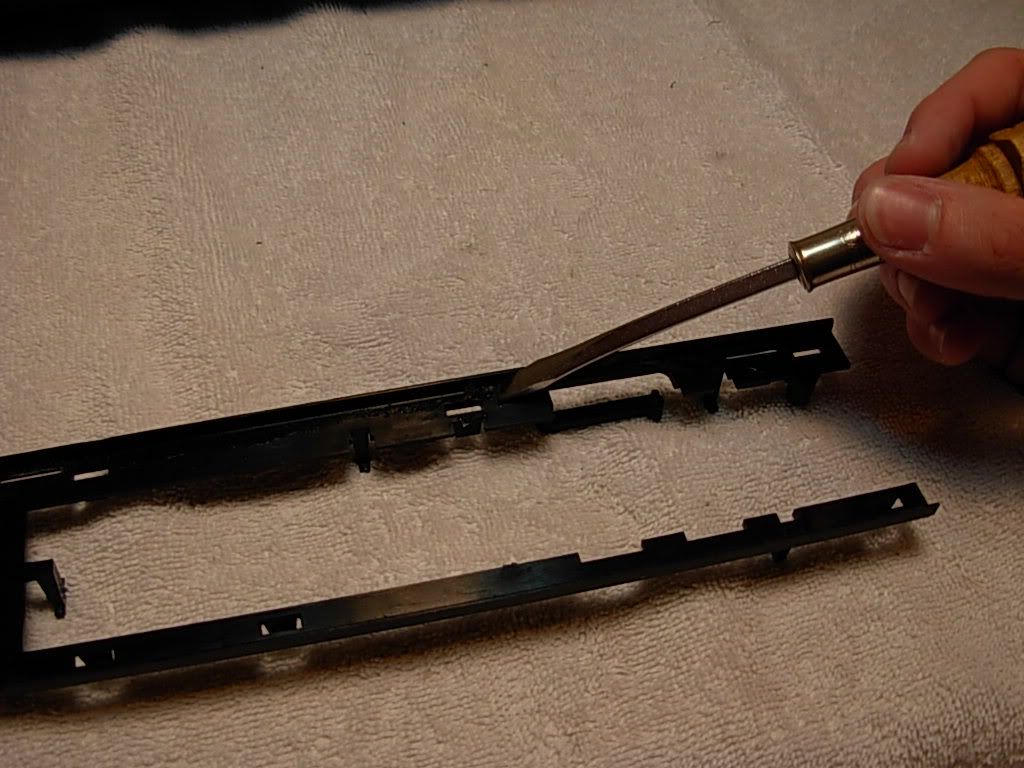
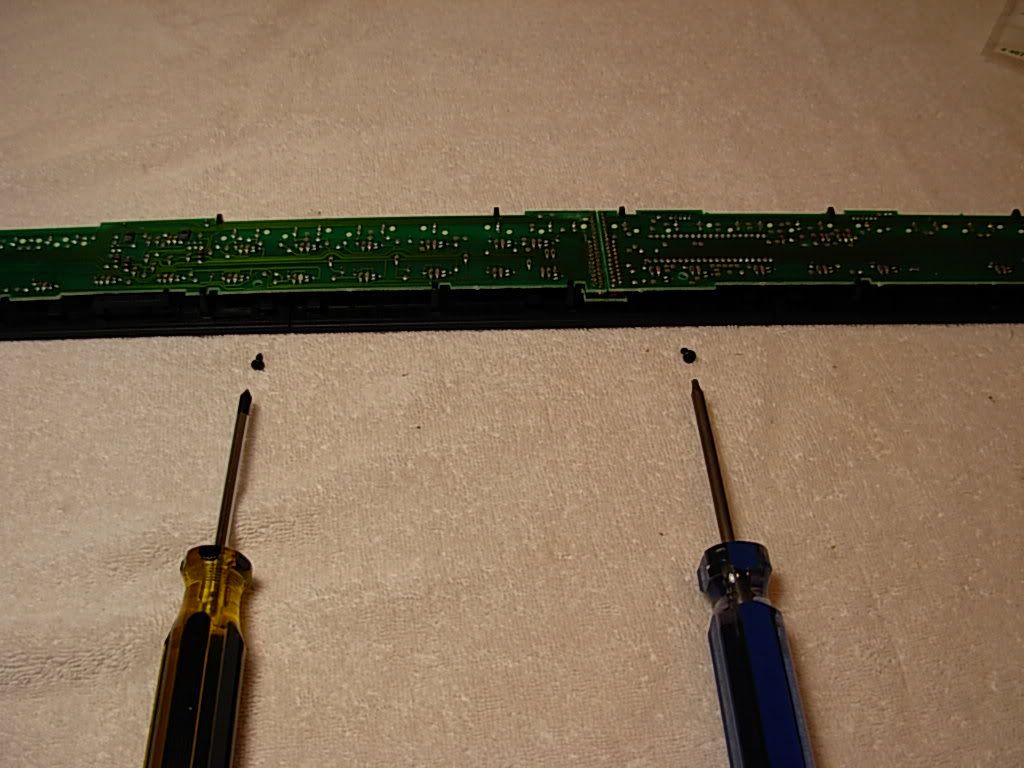
Remaining hard to reach adhesive can be gently scraped off with a screw driver.
|
|
-
-
Evan
- Joined on 12-15-2008
- Ohio | USA
- Posts 2,601
|
Re: BeoSystem 4500 Restoration
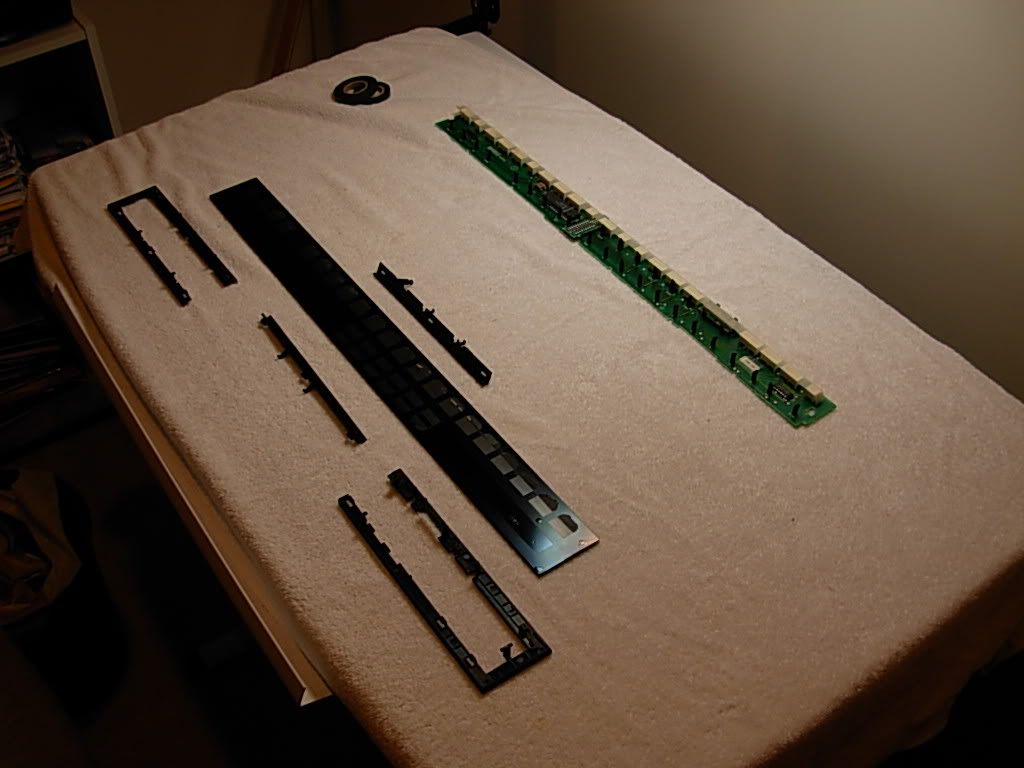
Here are all of the pieces that make up the operation panel.
|
|
-
-
Evan
- Joined on 12-15-2008
- Ohio | USA
- Posts 2,601
|
Re: BeoSystem 4500 Restoration
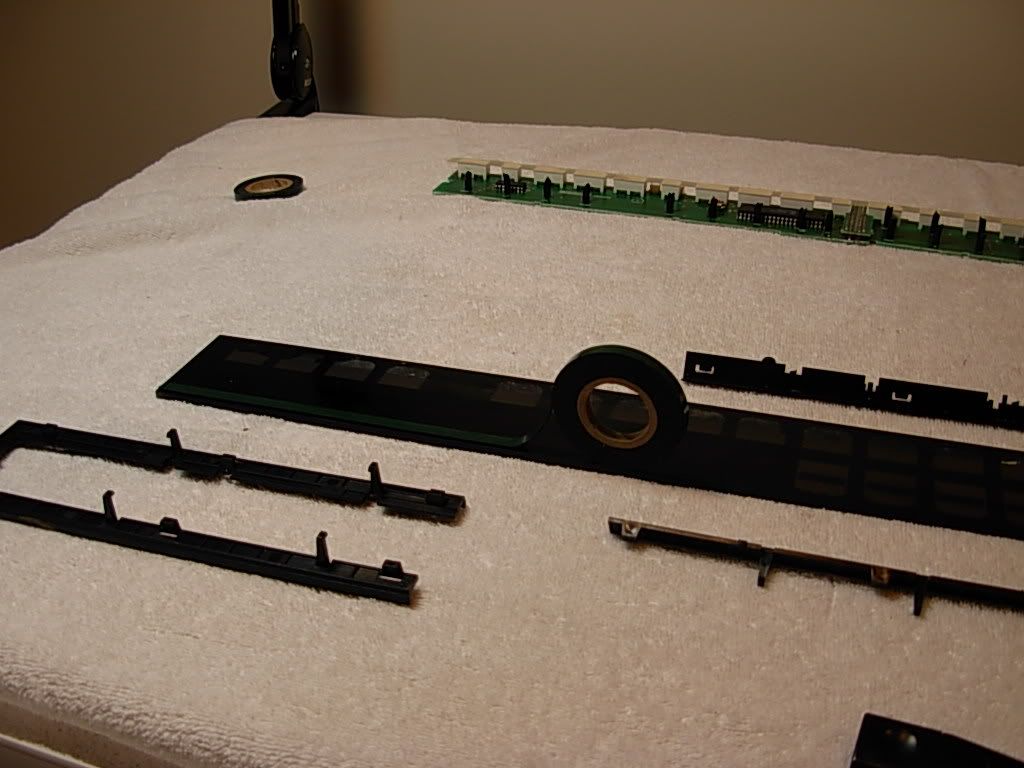
Attach new tape to a clean and dust free surface to get good bonding.
|
|
-
-
Evan
- Joined on 12-15-2008
- Ohio | USA
- Posts 2,601
|
Re: BeoSystem 4500 Restoration
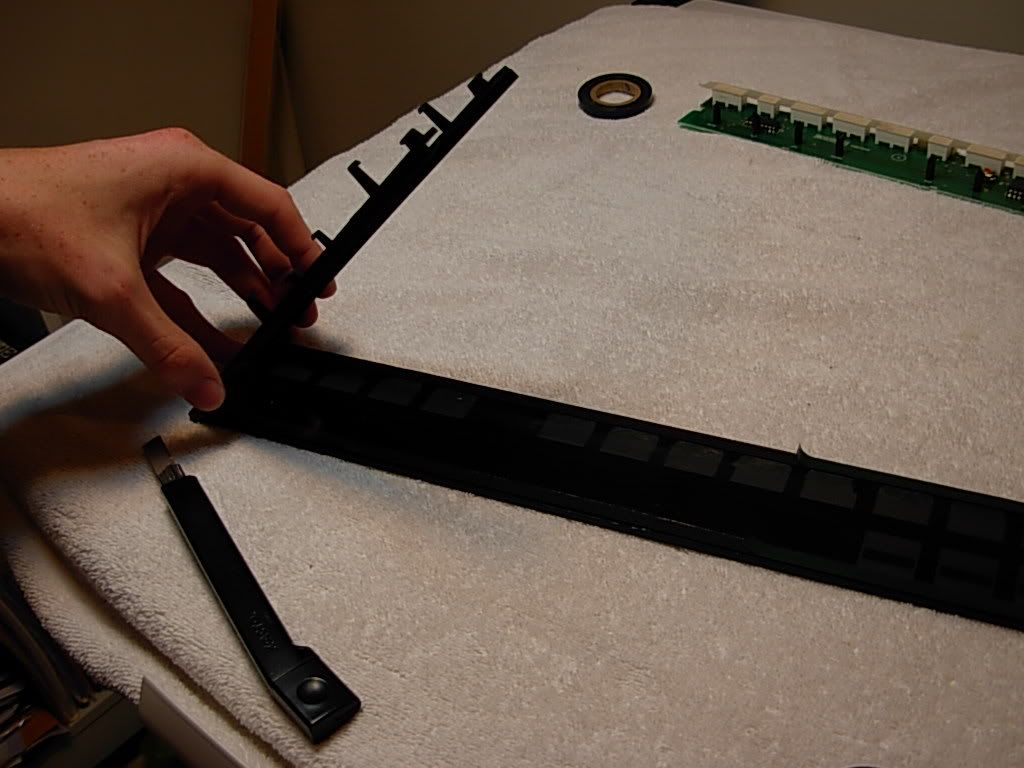
Chris recommends that the end bezel pieces be put on first, this will make it easier to lineup the gaps on the middle pieces.
|
|
-
-
Evan
- Joined on 12-15-2008
- Ohio | USA
- Posts 2,601
|
Re: BeoSystem 4500 Restoration
After the bezel is replaced, the PCB can be slid into place. Do not forget the two screws that hold the bezel to the PCB.
My BeoMaster left the factory with only one of the two screws. I had to go down to the local hardware store to find a replacement. The replacement is a No. 1 Phillips panhead screw.
|
|
-
-
Evan
- Joined on 12-15-2008
- Ohio | USA
- Posts 2,601
|
Re: BeoSystem 4500 Restoration
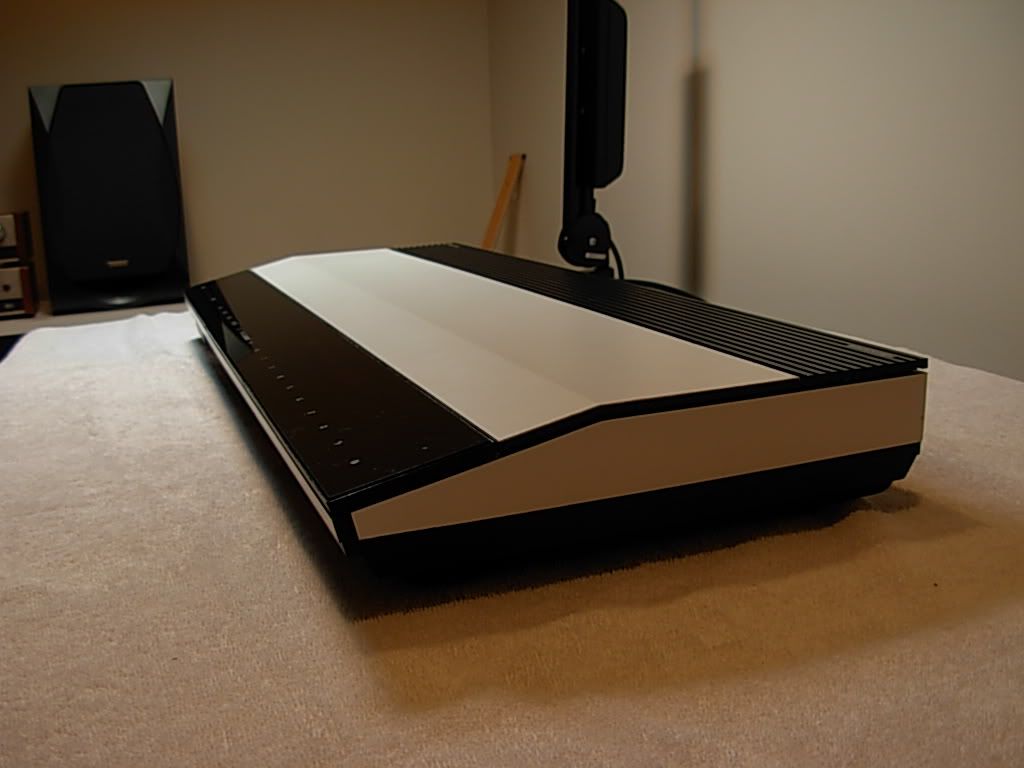
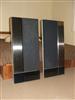
After the PCB is attached to the operation panel, connect the two wiring harnesses inside, drop it in and slide it right and snap! Its in!!!
Just a little windex to clean up the operation panel after a 100% successful functionality test and here we have it, the final result.

|
|
-
-
-
Evan
- Joined on 12-15-2008
- Ohio | USA
- Posts 2,601
|
Re: BeoSystem 4500 Restoration
Time for a sound test 
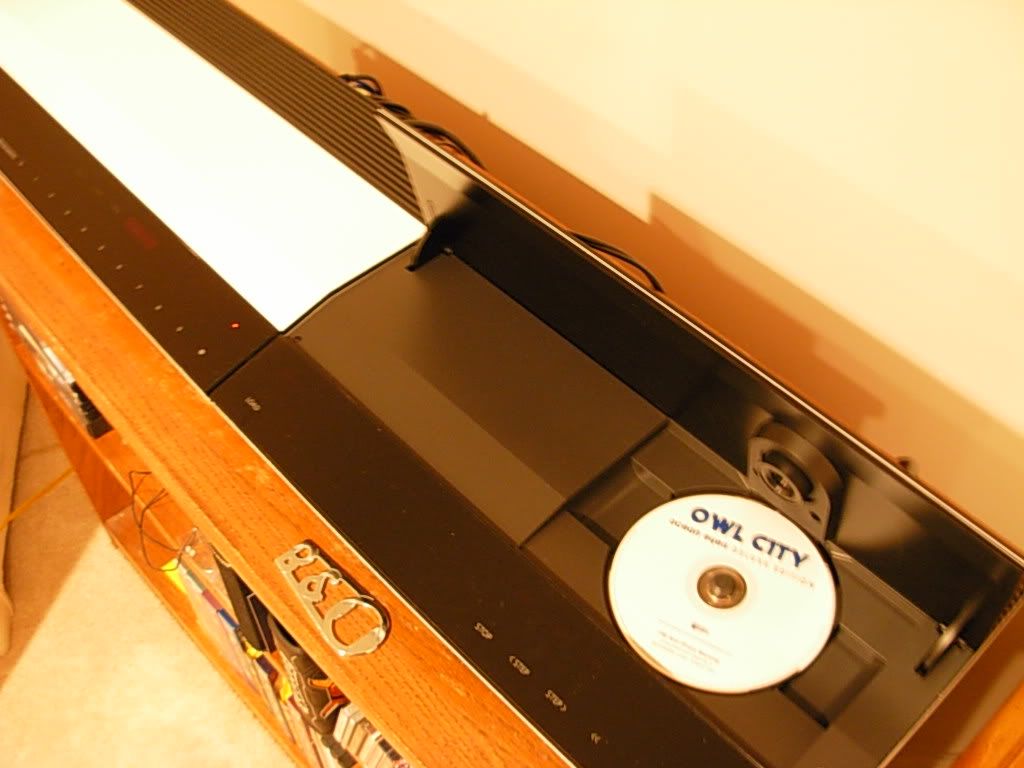
Only a white CD will do.
|
|
-
-
Evan
- Joined on 12-15-2008
- Ohio | USA
- Posts 2,601
|
Re: BeoSystem 4500 Restoration
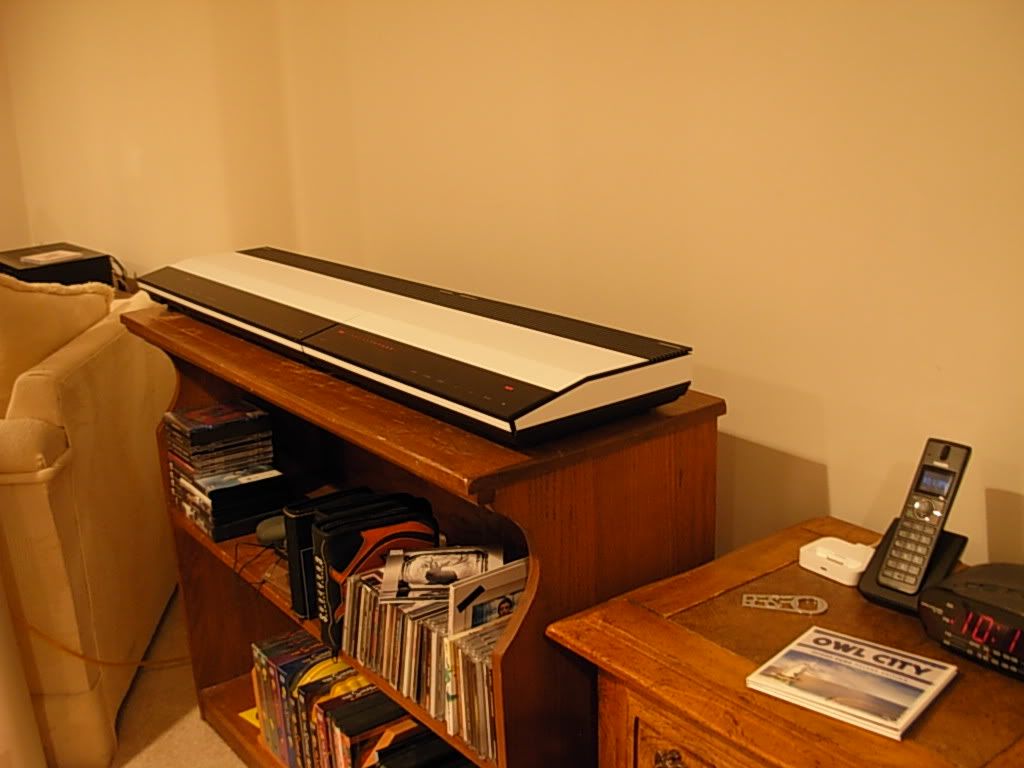
Matches the iPod dock too!
|
|
-
-
Rich
 
- Joined on 07-10-2010
- Orlando, Florida, USA
- Posts 1,089
|
Re: BeoSystem 4500 Restoration
You, sir, are now officially a Rock Star.
Well done.
PS Refoaming a woofer is infinitely easier than this, and takes much less time.
Current primary listening: SMMC20EN -> BG4002 -> BM4000 -> Beovox M70
|
|
-
-
elephant

- Joined on 04-16-2007
- Melbourne, Australia
- Posts 2,215

|
Re: BeoSystem 4500 Restoration
 evman140: evman140:
Time for a sound test
Only a white CD will do.
 well done - looks great well done - looks great
First B&O (1976) was a Beogram 1500 ... latest (2011) change has been to couple the BL11 with the BL6Ks *sounds superb*
|
|
-
-
tournedos
  - Joined on 12-08-2007
- Finland
- Posts 5,808
|
Re: BeoSystem 4500 Restoration
Yep, I knew it - it looks good
You now need a Beogram 4500 with a trashed lid to make over!
|
|
-
-
Medogsfat

- Joined on 02-21-2007
- *Moderator* Leeds, Yorkshire
- Posts 4,045
|
Re: BeoSystem 4500 Restoration
Brilliant stuff Evan.
Looks awesome.
Chris.
The use of metaphors should be avoided like the plague. They're like a red rag to a bull to me.
|
|
-
-
Evan
- Joined on 12-15-2008
- Ohio | USA
- Posts 2,601
|
Re: BeoSystem 4500 Restoration
Thank you everyone! and Thank you Chris for supplying the tape and instruction for applying it.
I am very happy with the result and proud to have a "like new" system. Previously, a lot of pressure had to be put on the operation panel in some areas do to previous "repairs" to remedy the separated glass. Now it responds to the lightest touch, just as intended.
I am also very proud to be the owner of the only albino BeoSystem 4500 
|
|
-
-
Søren Mexico

- Joined on 09-13-2007
- Mexico city
- Posts 1,621
|
Re: BeoSystem 4500 Restoration
Thank you Evman, fantastic job, I hope I will be able to do something like this with my stuff, its just beautiful.
Beosound 3000, BL 4000, BL 8000, BG 2404,BG 5000, BG CD50, Beocord 5000, BM 901, BM 2400, BM 4000, BV S45, BV 3702. There is nothing we cannot do, but a lot of things we don't want to do!!
|
|
-
-
joeyboygolf
- Joined on 04-16-2007
- Ely, Cambridgeshire, UK
- Posts 3,252
|
Re: BeoSystem 4500 Restoration
evman140:
My BeoMaster left the factory with only one of the two screws. I had to go down to the local hardware store to find a replacement. The replacement is a No. 1 Phillips panhead screw.
AFAIK they all left the factory with one screw! It is only there to stop the pcb from sliding into the release position.
|
|
-
-
Søren Mexico
- Joined on 09-13-2007
- Mexico city
- Posts 1,621
|
Re: BeoSystem 4500 Restoration
joeyboygolf:
evman140:
My BeoMaster left the factory with only one of the two screws. I had to go down to the local hardware store to find a replacement. The replacement is a No. 1 Phillips panhead screw.
AFAIK they all left the factory with one screw! It is only there to stop the pcb from sliding into the release position.
Its always better to screw two times
Beosound 3000, BL 4000, BL 8000, BG 2404,BG 5000, BG CD50, Beocord 5000, BM 901, BM 2400, BM 4000, BV S45, BV 3702. There is nothing we cannot do, but a lot of things we don't want to do!!
|
|
-
-
soundproof
 - Joined on 04-16-2007
- Posts 2,340
|
Re: BeoSystem 4500 Restoration
Brilliant thread, excellent work - inspirational. And using white was ingenious.
|
|
-
-
beocool
 - Joined on 10-17-2007
- the Netherlands
- Posts 5,514
|
Re: BeoSystem 4500 Restoration
soundproof:
Brilliant thread, excellent work - inspirational. And using white was ingenious.
Ditto! Great job, Evan!
Beoworld's twenty-eighth ninth prize winner and fifty-first second prize winner. Best £30 I've ever spent!
|
|
-
-
-
Evan
- Joined on 12-15-2008
- Ohio | USA
- Posts 2,601
|
Re: BeoSystem 4500 Restoration
joeyboygolf:
evman140:
My BeoMaster left the factory with only one of the two screws. I had to go down to the local hardware store to find a replacement. The replacement is a No. 1 Phillips panhead screw.
AFAIK they all left the factory with one screw! It is only there to stop the pcb from sliding into the release position.
Well now I am double sure that my PCB will not work its way out!
|
|
-
-
Evan
- Joined on 12-15-2008
- Ohio | USA
- Posts 2,601
|
Re: BeoSystem 4500 Restoration
Thank you once again.
If any of you have a damaged 4500 I really encourage doing this, you will be very happy with the result.
|
|
-
-
-
Evan
- Joined on 12-15-2008
- Ohio | USA
- Posts 2,601
|
Re: BeoSystem 4500 Restoration
Thank you for the compliment, Gustavo.
|
|
-
-
Stoobietoo
 
- Joined on 03-28-2008
- Exeter UK
- Posts 145
|
Re: BeoSystem 4500 Restoration
Guys,
I don't want to take anything away from this fantastic project but have you thought of using Fablon or other makes (sticky backed plastic) to do the same task. Much less effort, not bugs sticking to wet paint, no overspray and if you don't like the effect take it off and begin again. There are all sorts out there, especially for car interiors.
I have even bought a "mirror on a roll" and used that for covering stuff, possibly to re-cover scartched panels (look here)
You can get many plain colours of sticky back plastic, mettalic finishes, woodgrain, mirror finish and carbon fibre. I turned my old LS6000 TV wood finish to white using this method about 12 years ago (sadly no pics taken though) it gave it a perfect satin white finish, but I would have gone for a brushed aluminium look now if I were to do it again as I think that would look good with the black.
I have even thought of using it to change the front colour of my Beo4 but as it is in good condition I don't want to cover the Bang & Olufsen lettering on it.
Just a thought. Only really suitable for flat, or slightly curved "simple surfaces", and as I say, I wouldn't want to take anything off the great effort that you guys all go to.
Stoobie
|
|
|
|
|